前置条件:
1、nacos安装
喵星之旅-狂奔的兔子-nacos单点安装
2、分布式的环境
喵星之旅-狂奔的兔子-简单的springcloud下的dubbo案例
在上面的案例当中只有注册中心的使用,下面进行配置中心的实现:
一、引入依赖
1
2
3
4
5
| <dependency>
<groupId>com.alibaba.boot</groupId>
<artifactId>nacos-config-spring-boot-starter</artifactId>
<version>0.2.7</version>
</dependency>
|
二、添加配置文件
bootstrap.properties,在class根路径下
内容如下:
1
2
3
4
| #服务名
spring.application.name=nacos-config-example
# 配置中心url
spring.cloud.nacos.config.server-addr=127.0.0.1:8848
|
三、启动类添加注解读取配置文件
1
2
3
4
5
6
7
8
9
10
11
12
13
14
15
16
17
18
| package club.kittybunny.springcloud.dubbo.springclouddubbosampleconsumer;
import com.alibaba.nacos.spring.context.annotation.config.NacosPropertySource;
import org.springframework.boot.SpringApplication;
import org.springframework.boot.autoconfigure.SpringBootApplication;
/**
* @Author: bunny
* @Description: 我是兔子我会喵,我叫喵星兔
*/
@SpringBootApplication
@NacosPropertySource(dataId = "nacos-config-example.properties", autoRefreshed = true)
public class SpringCloudDubboSampleConsumerApplication {
public static void main(String[] args) {
SpringApplication.run(SpringCloudDubboSampleConsumerApplication.class, args);
}
}
|
其中
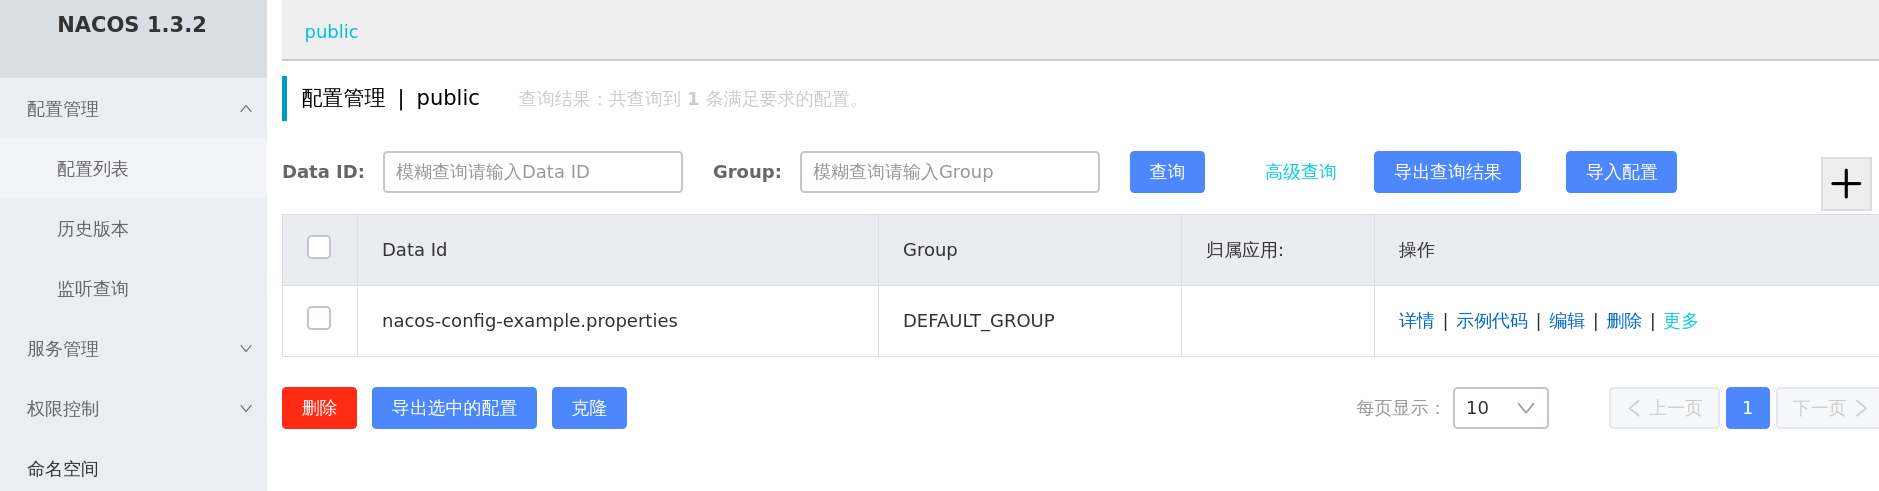
@NacosPropertySource(dataId = “nacos-config-example.properties”, autoRefreshed = true)
设置为我们的配置文件是Data Id是nacos-config-example.properties的配置。
进入nacos 配置即可。